 Image 1 of 14

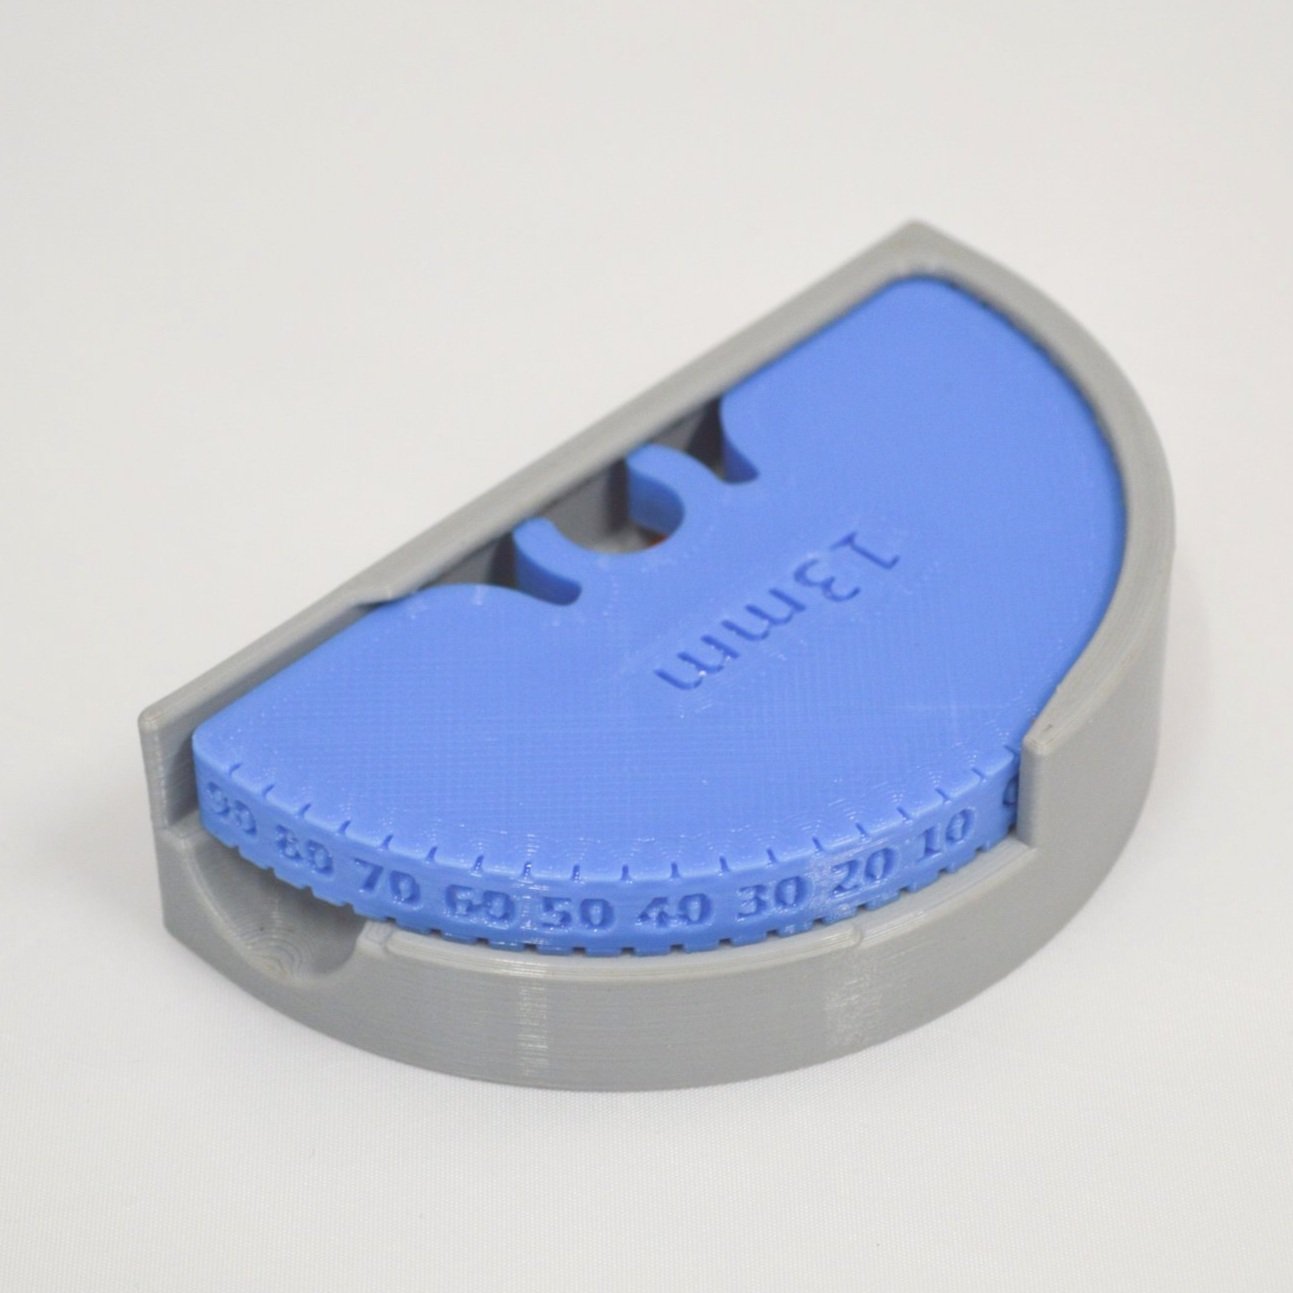 Image 2 of 14

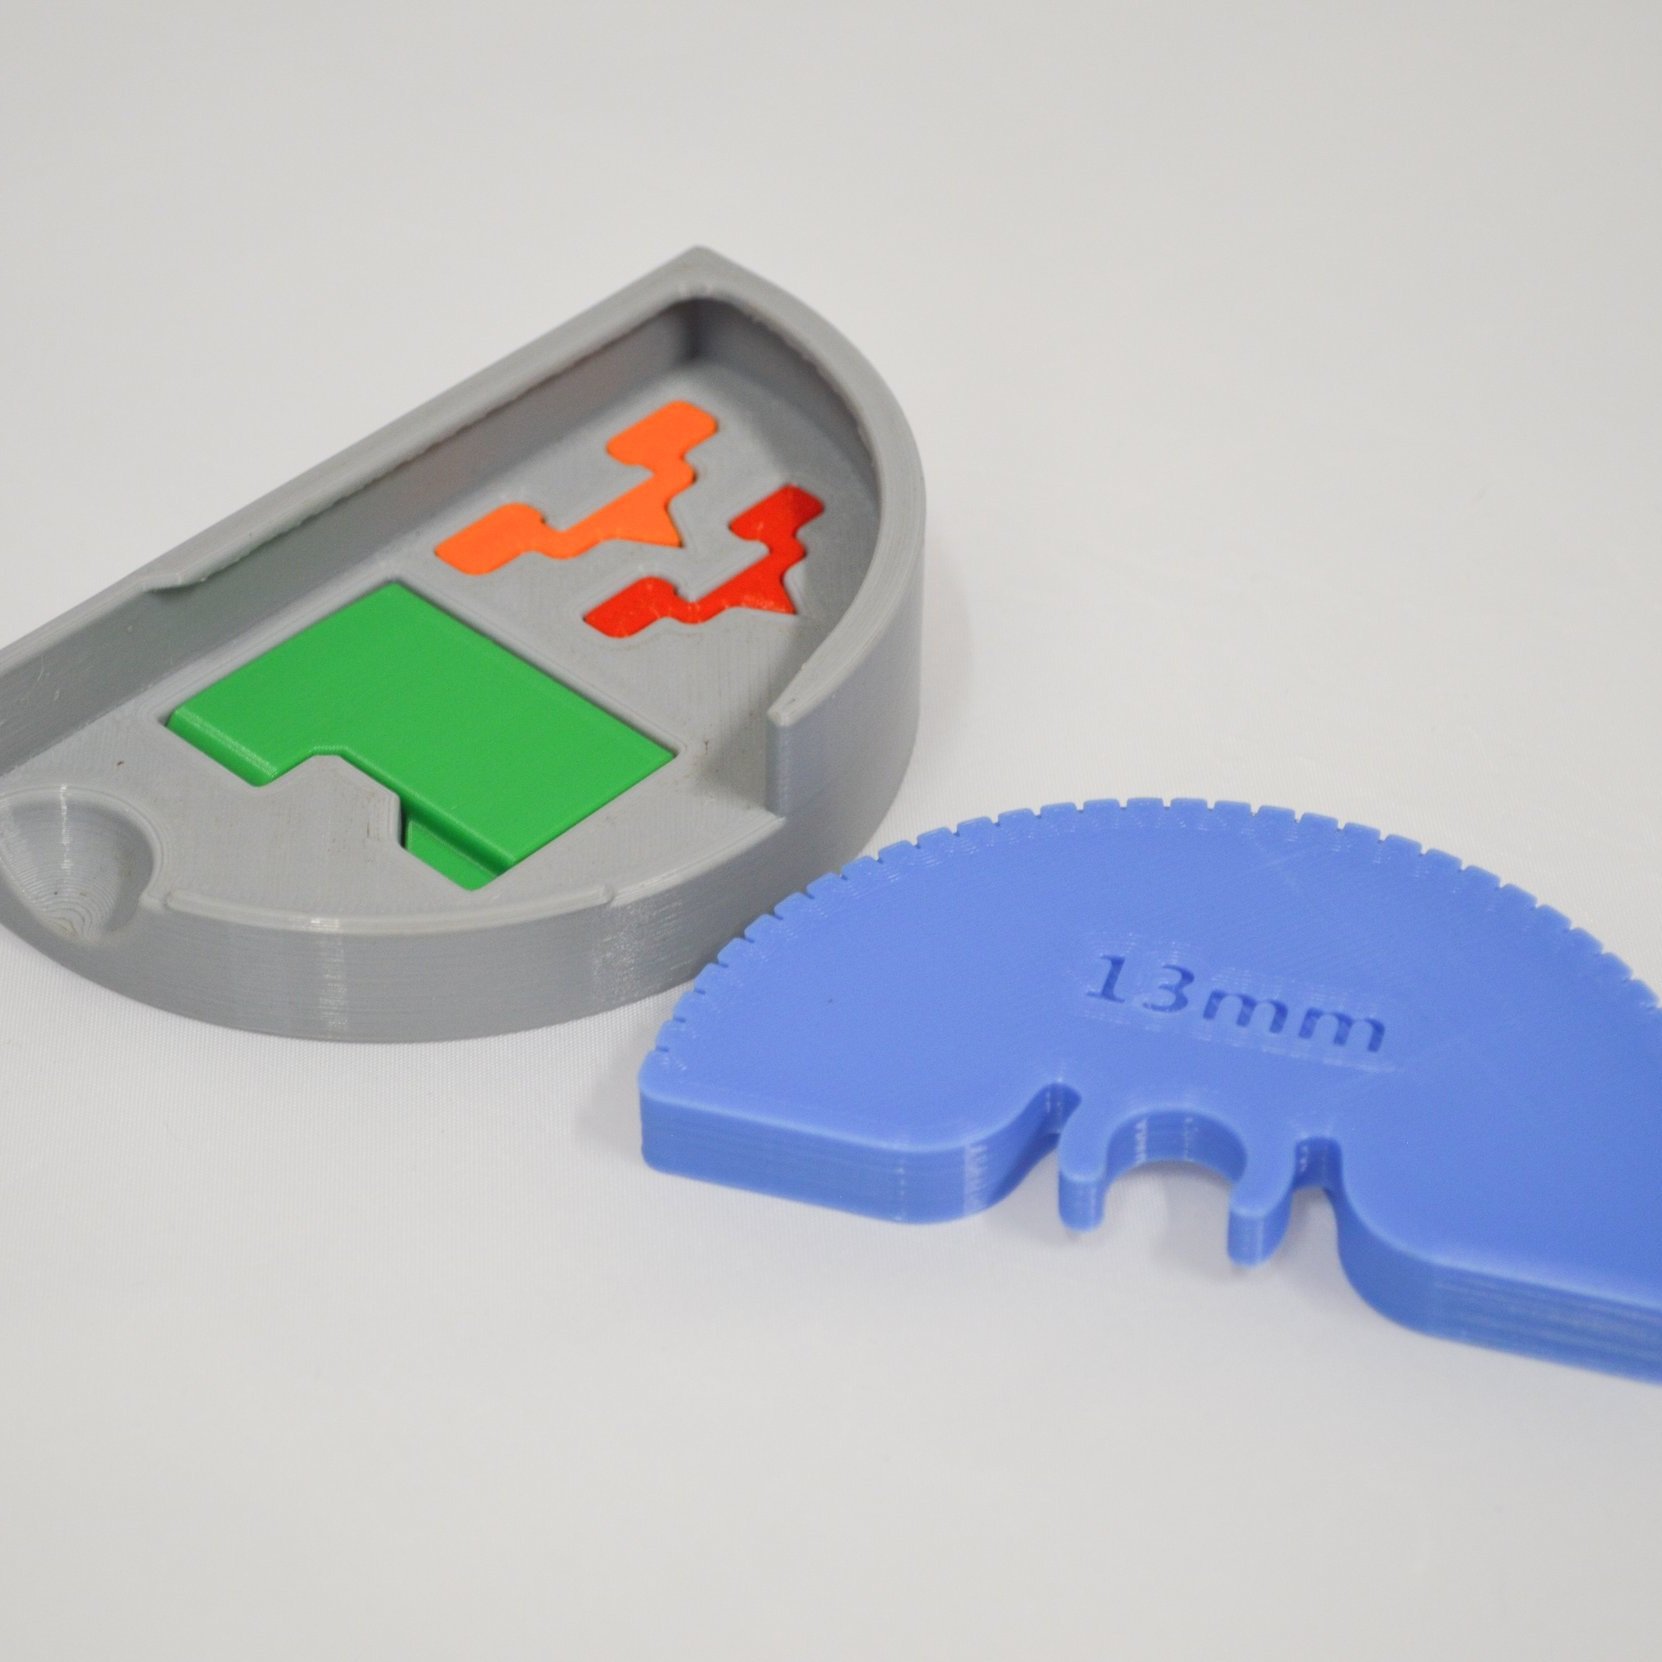 Image 3 of 14

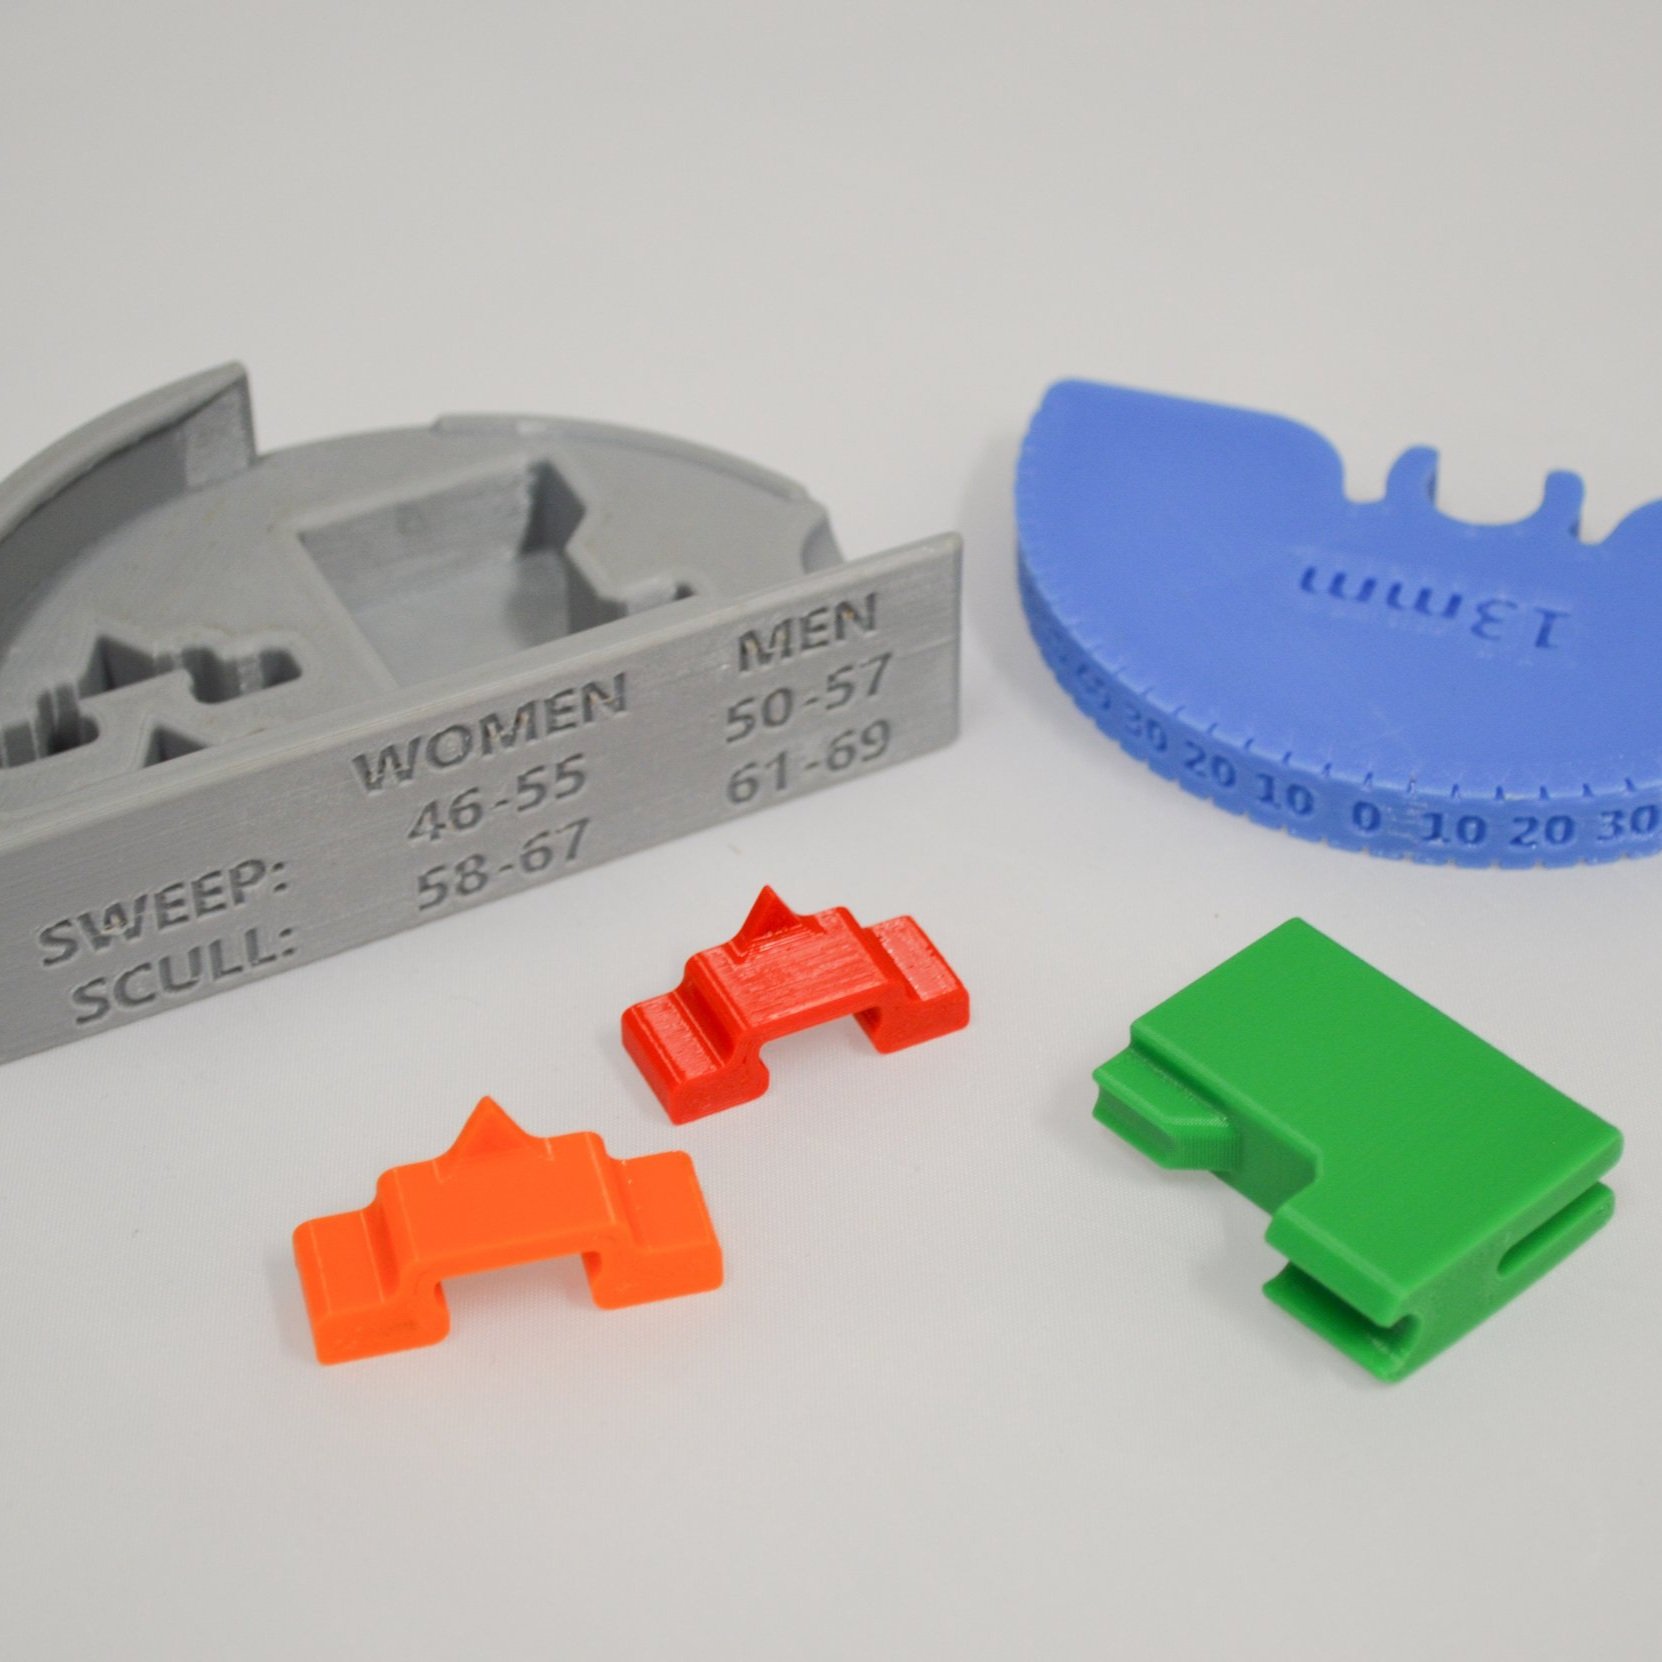 Image 4 of 14

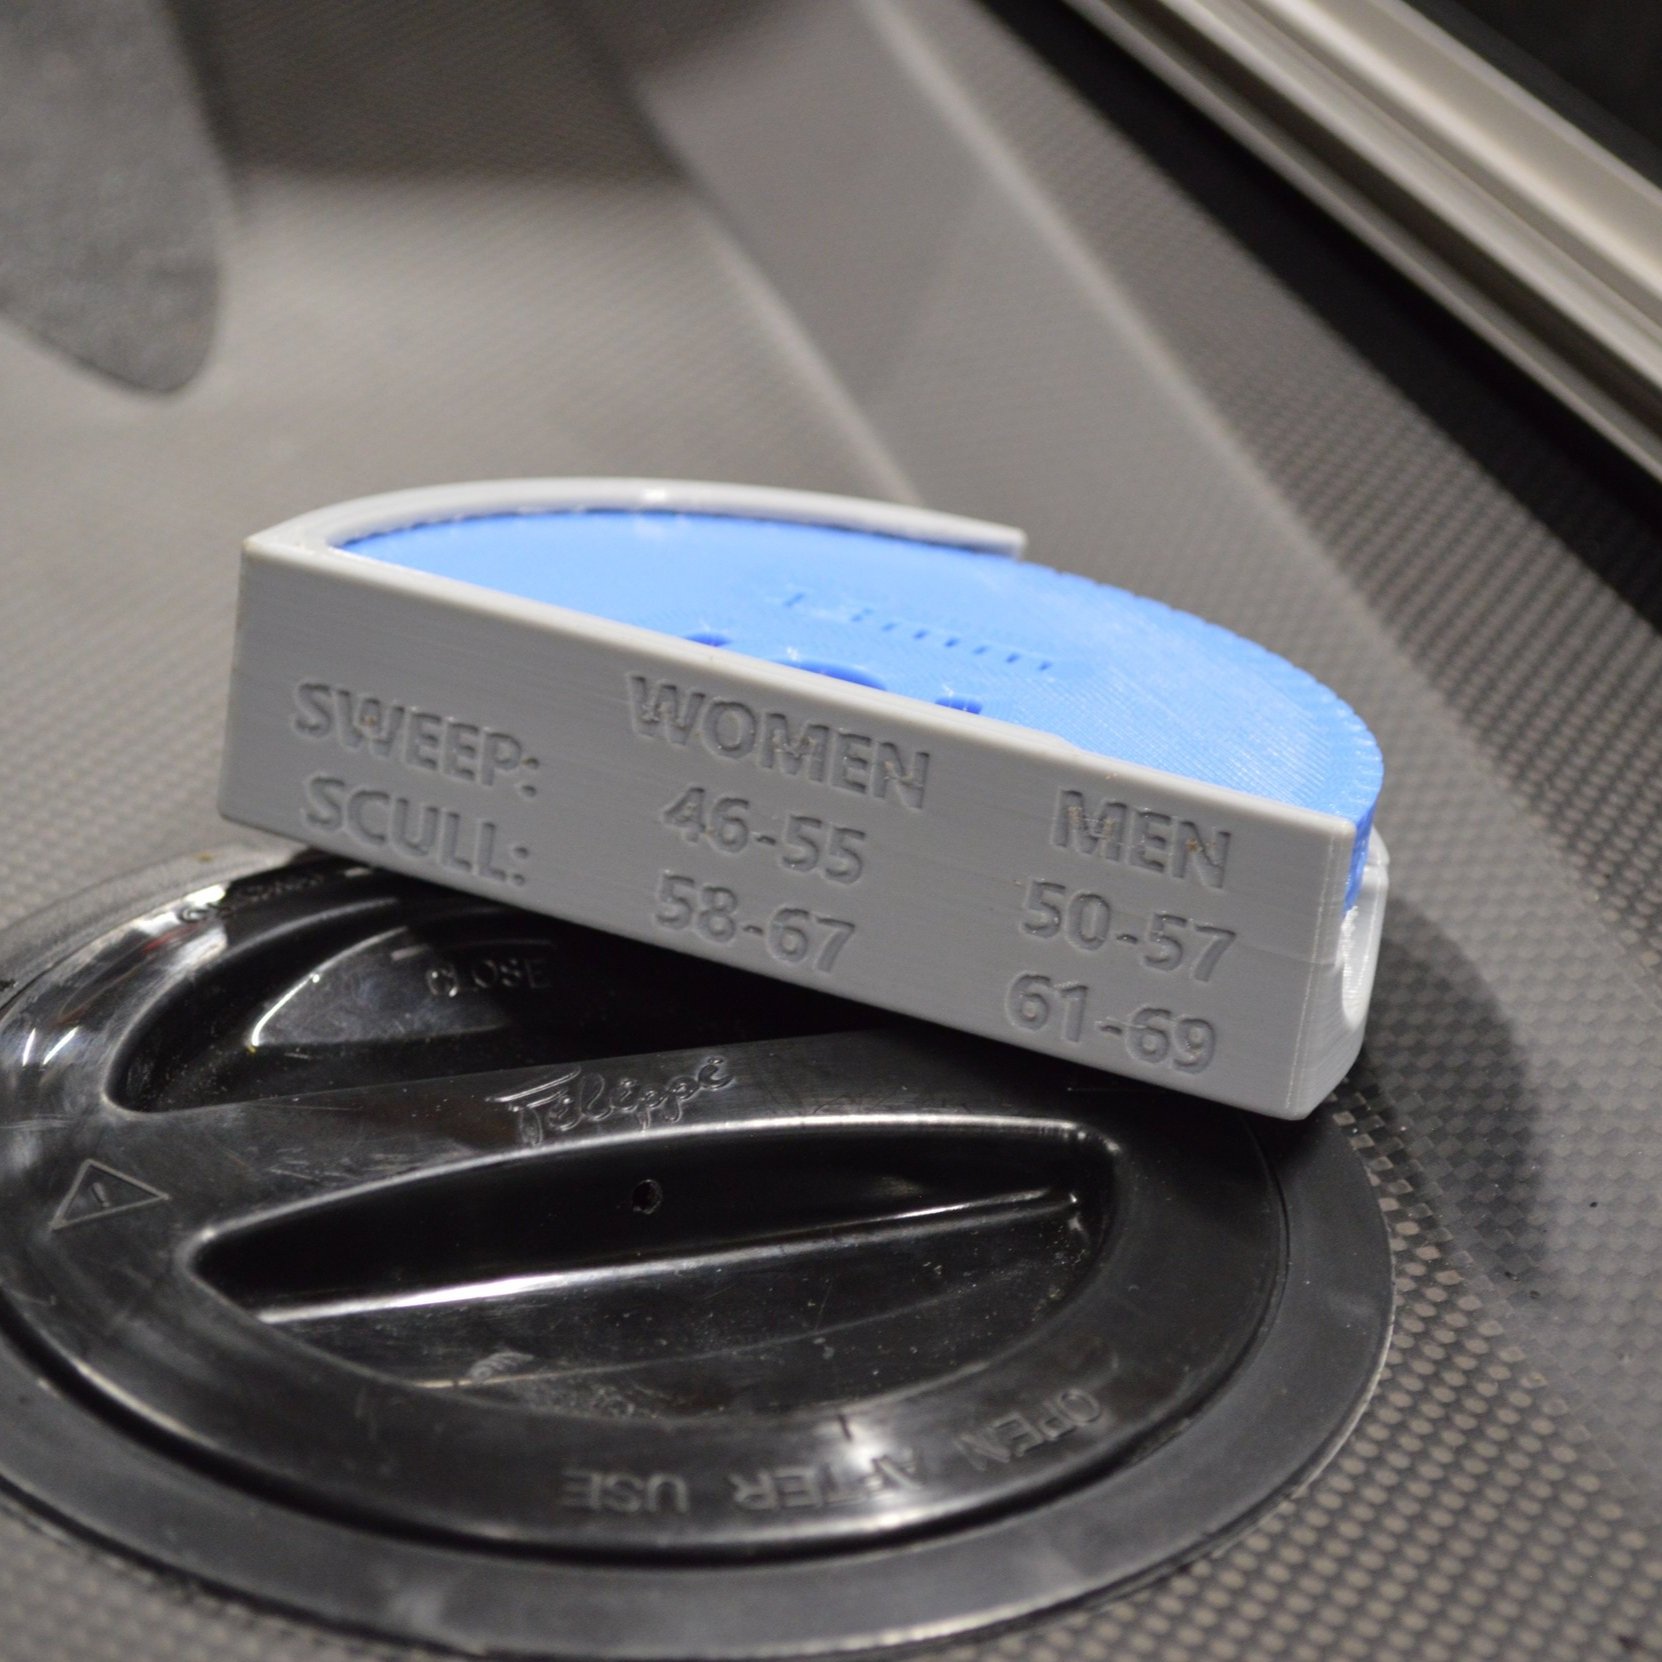 Image 5 of 14

 Image 6 of 14

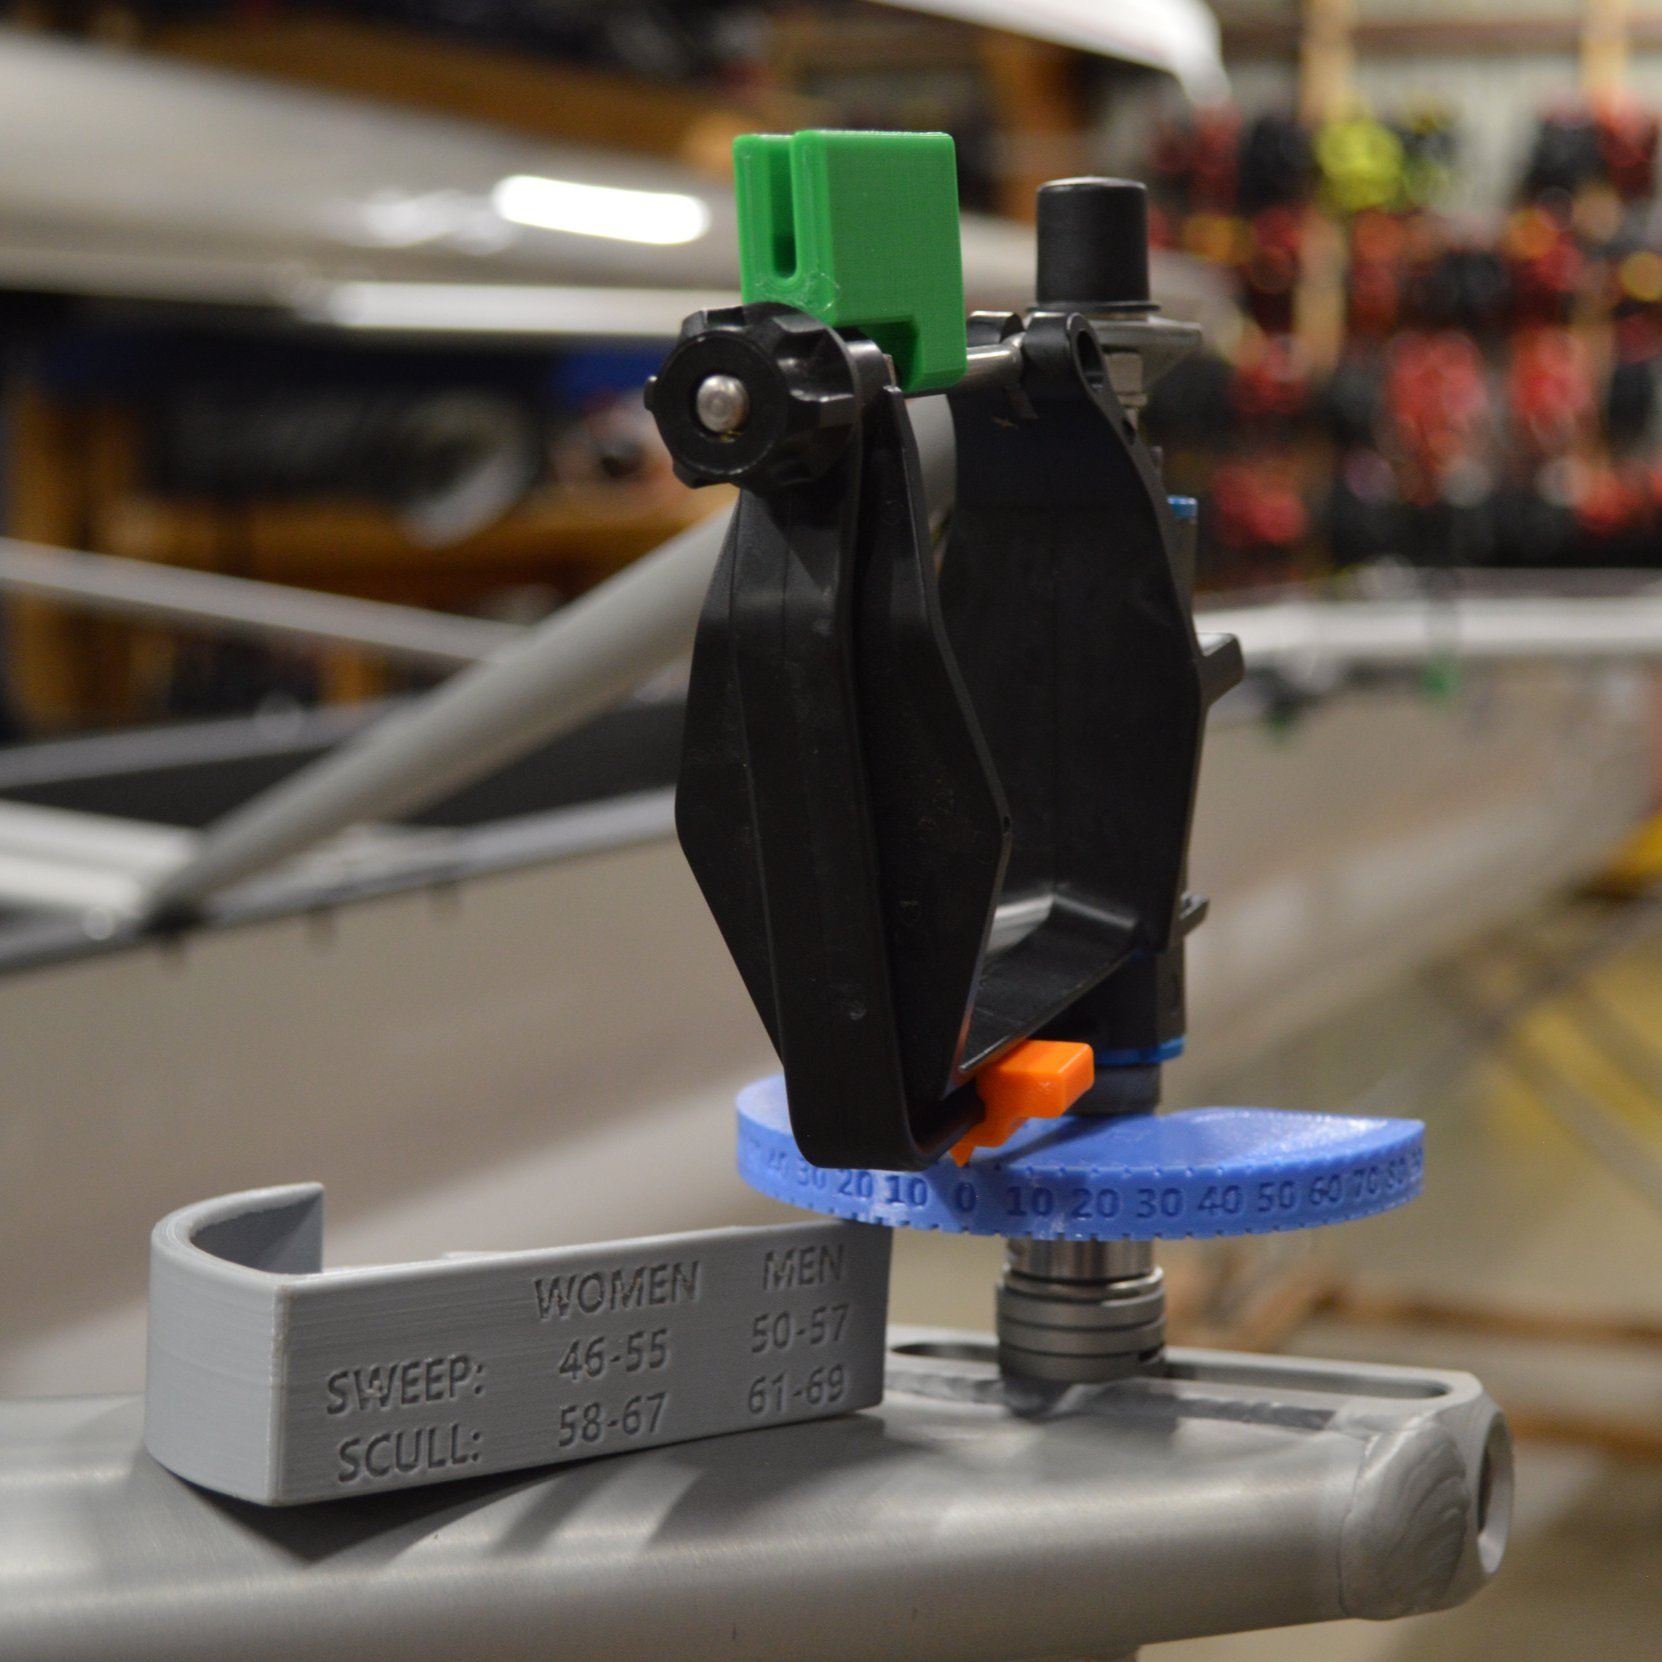 Image 7 of 14

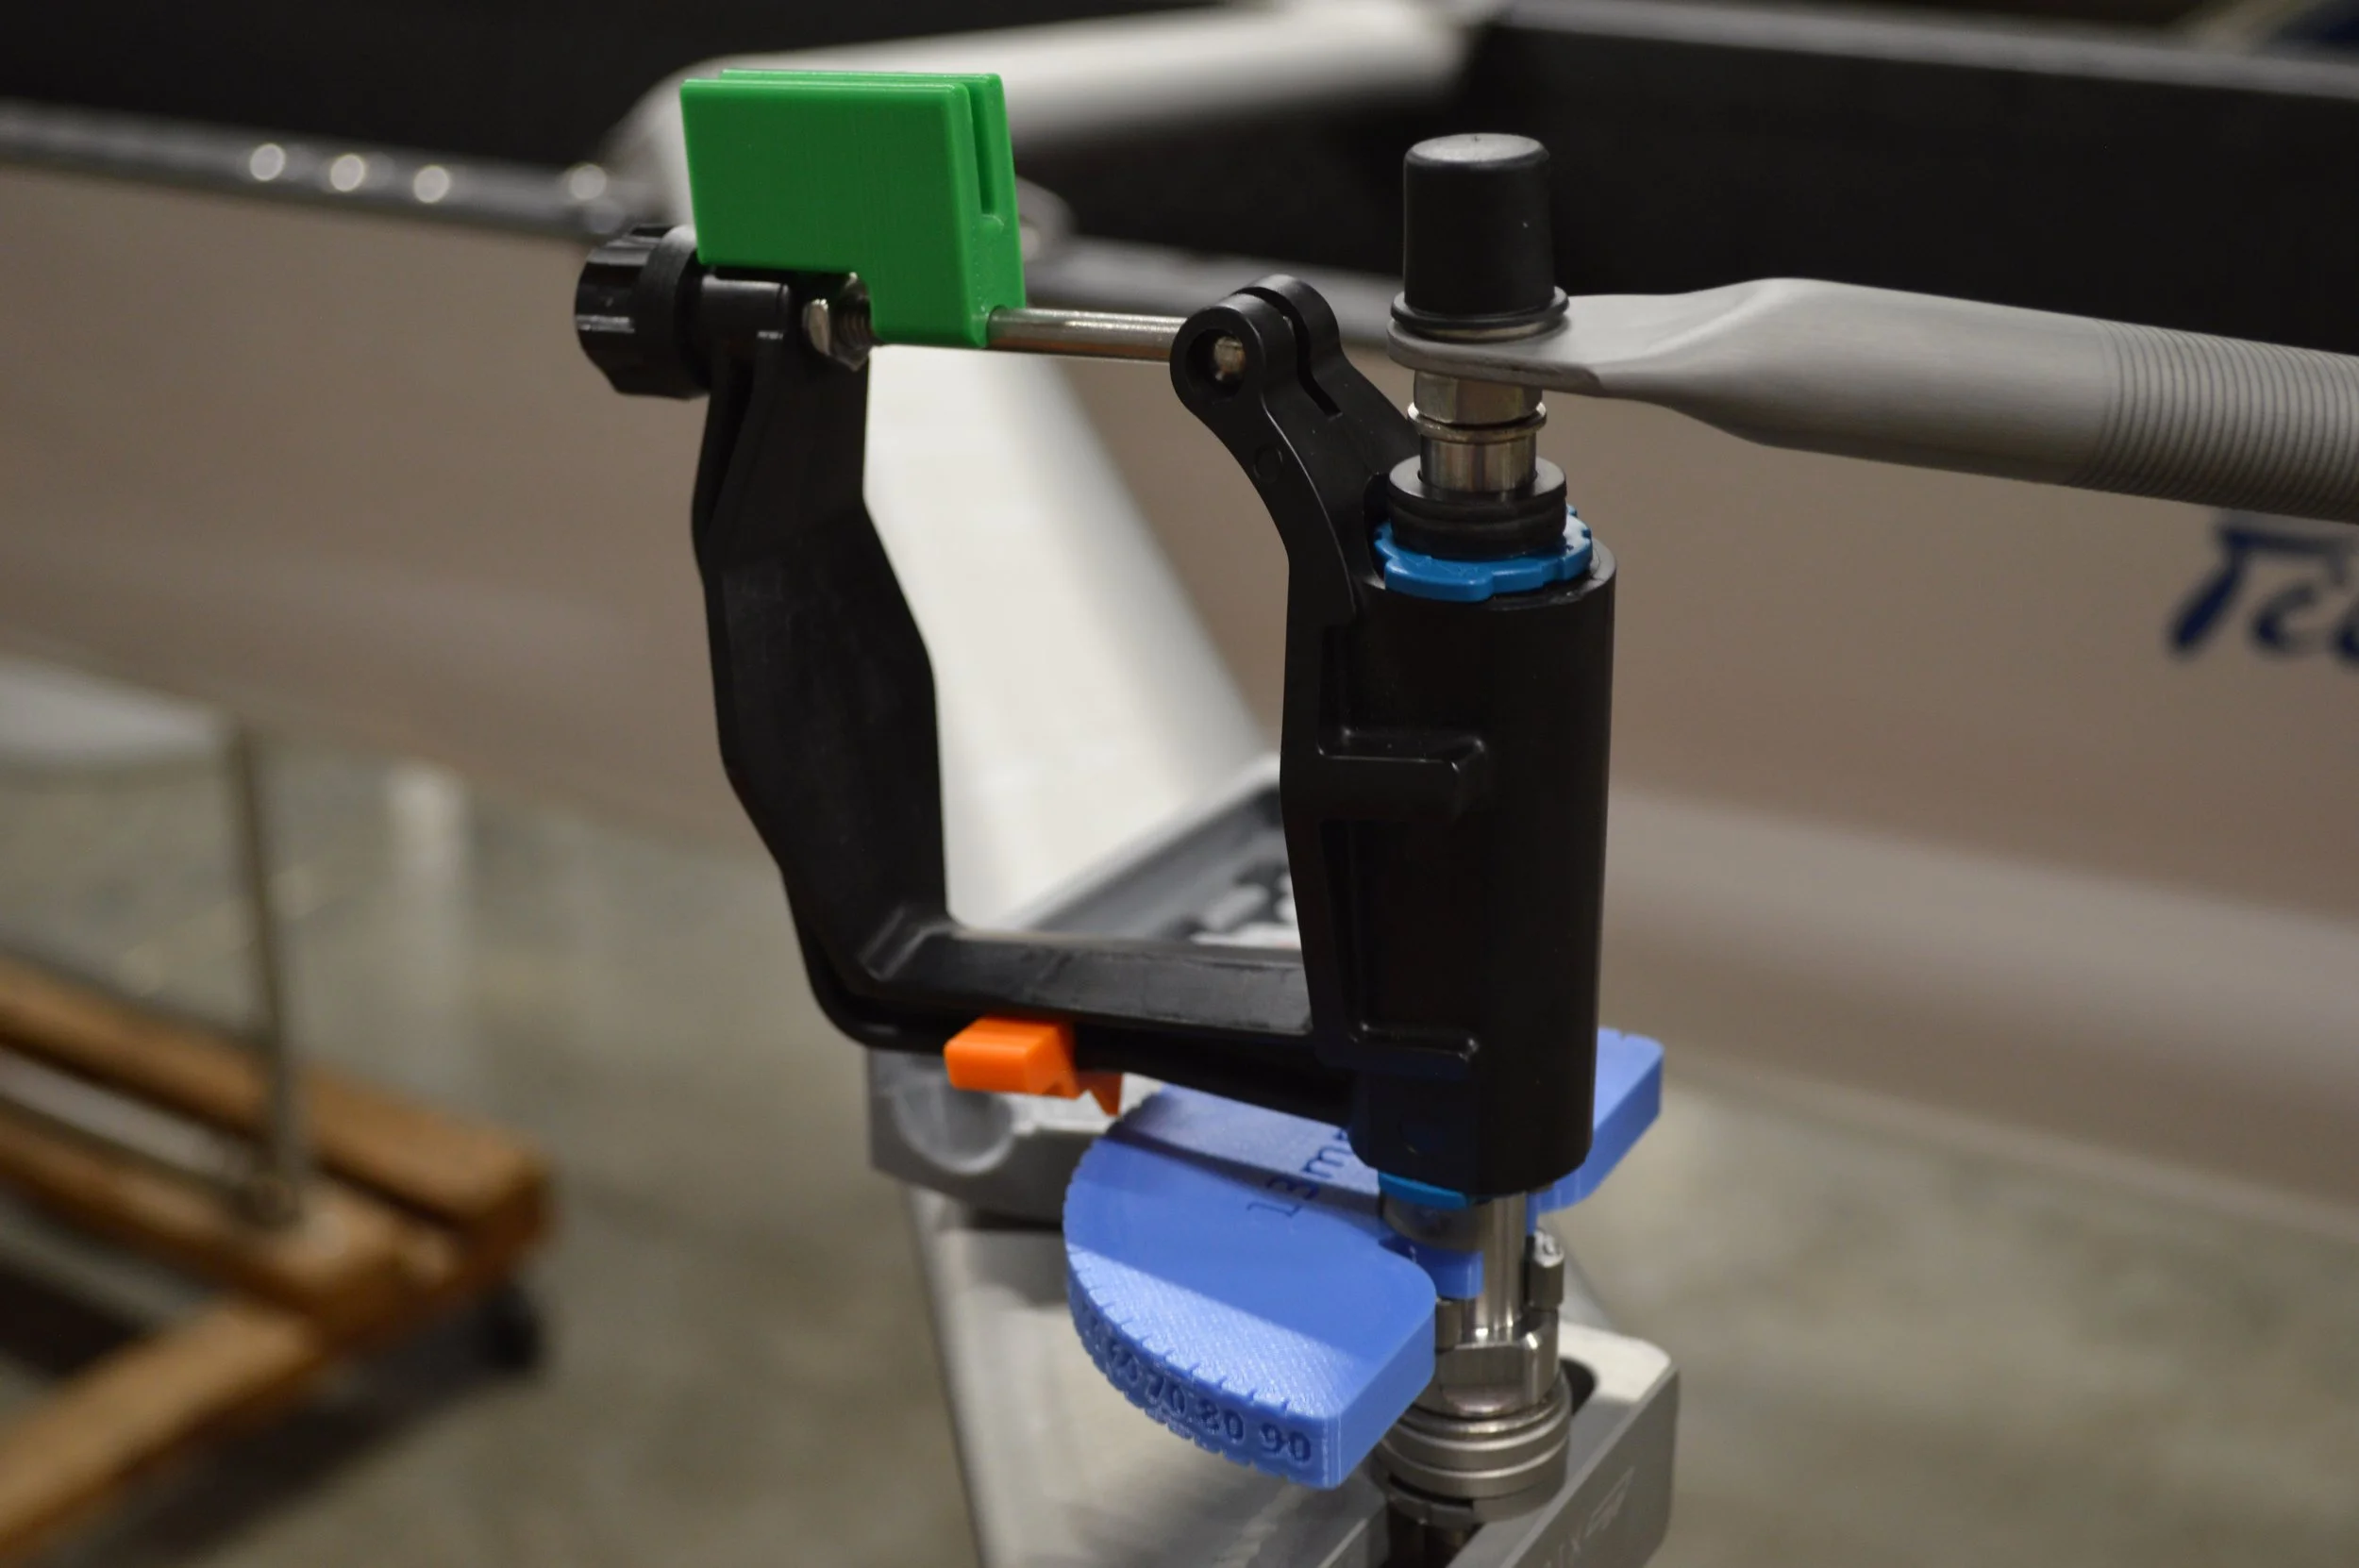 Image 8 of 14

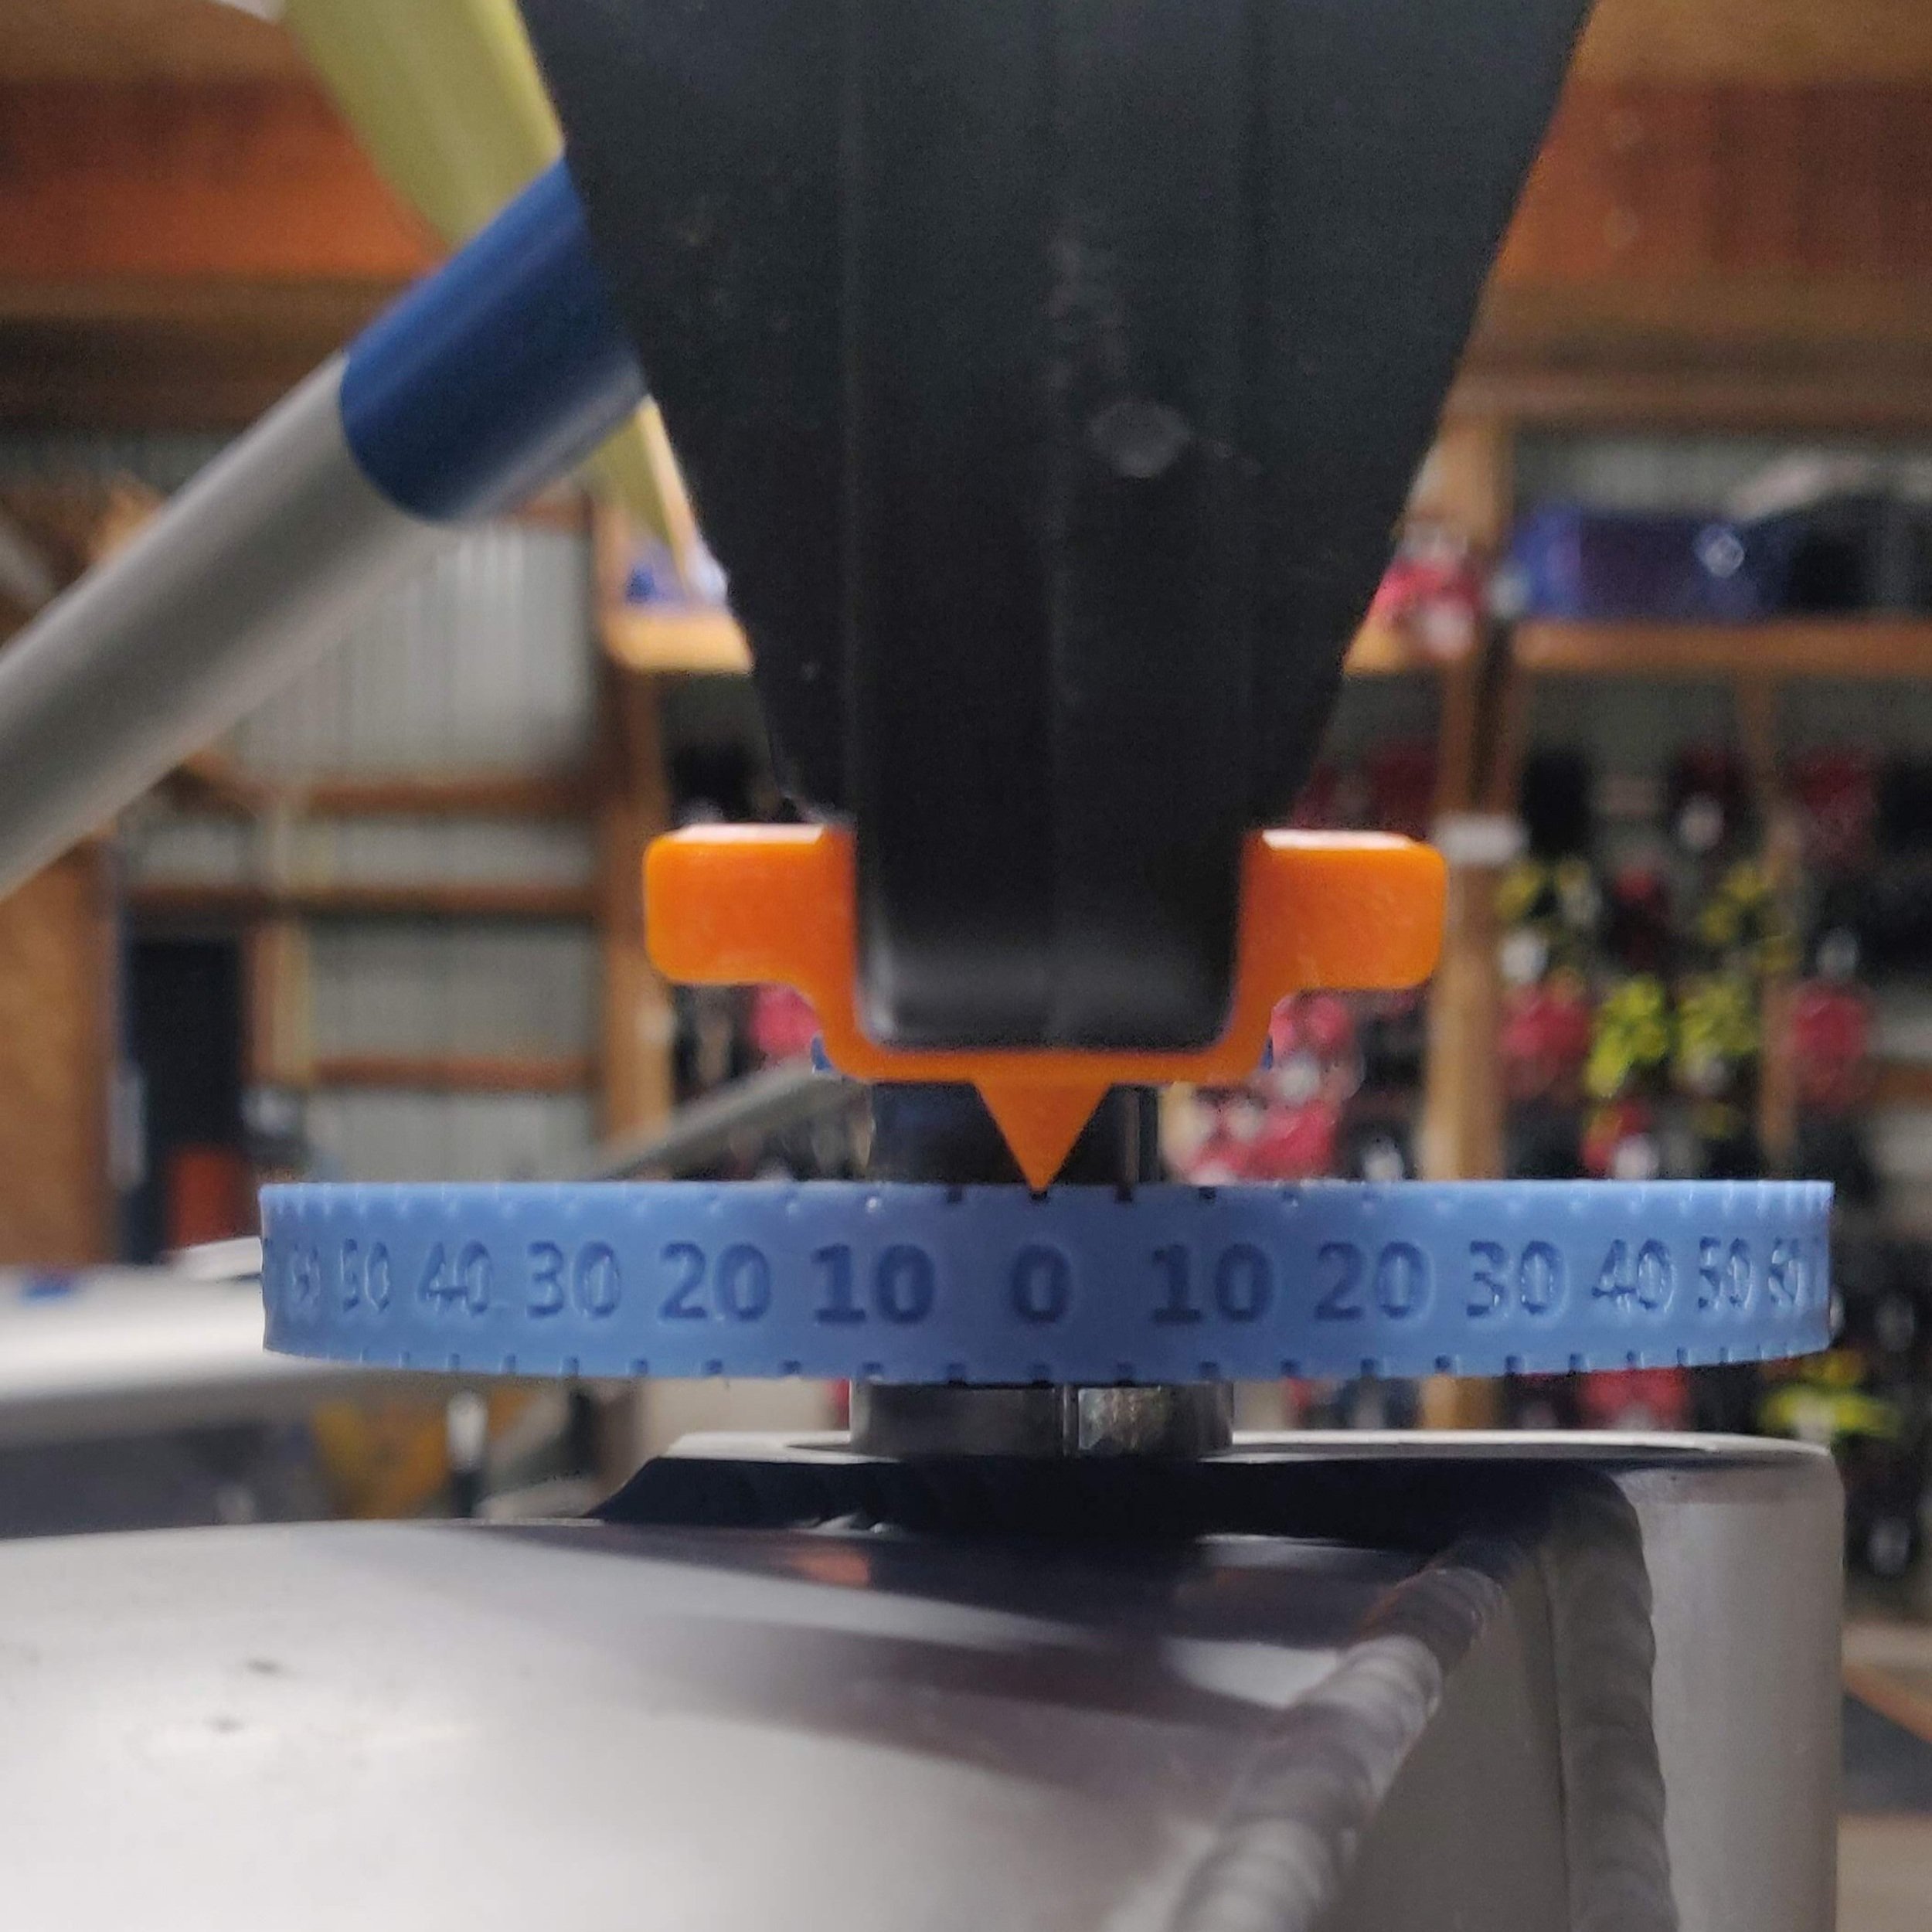 Image 9 of 14

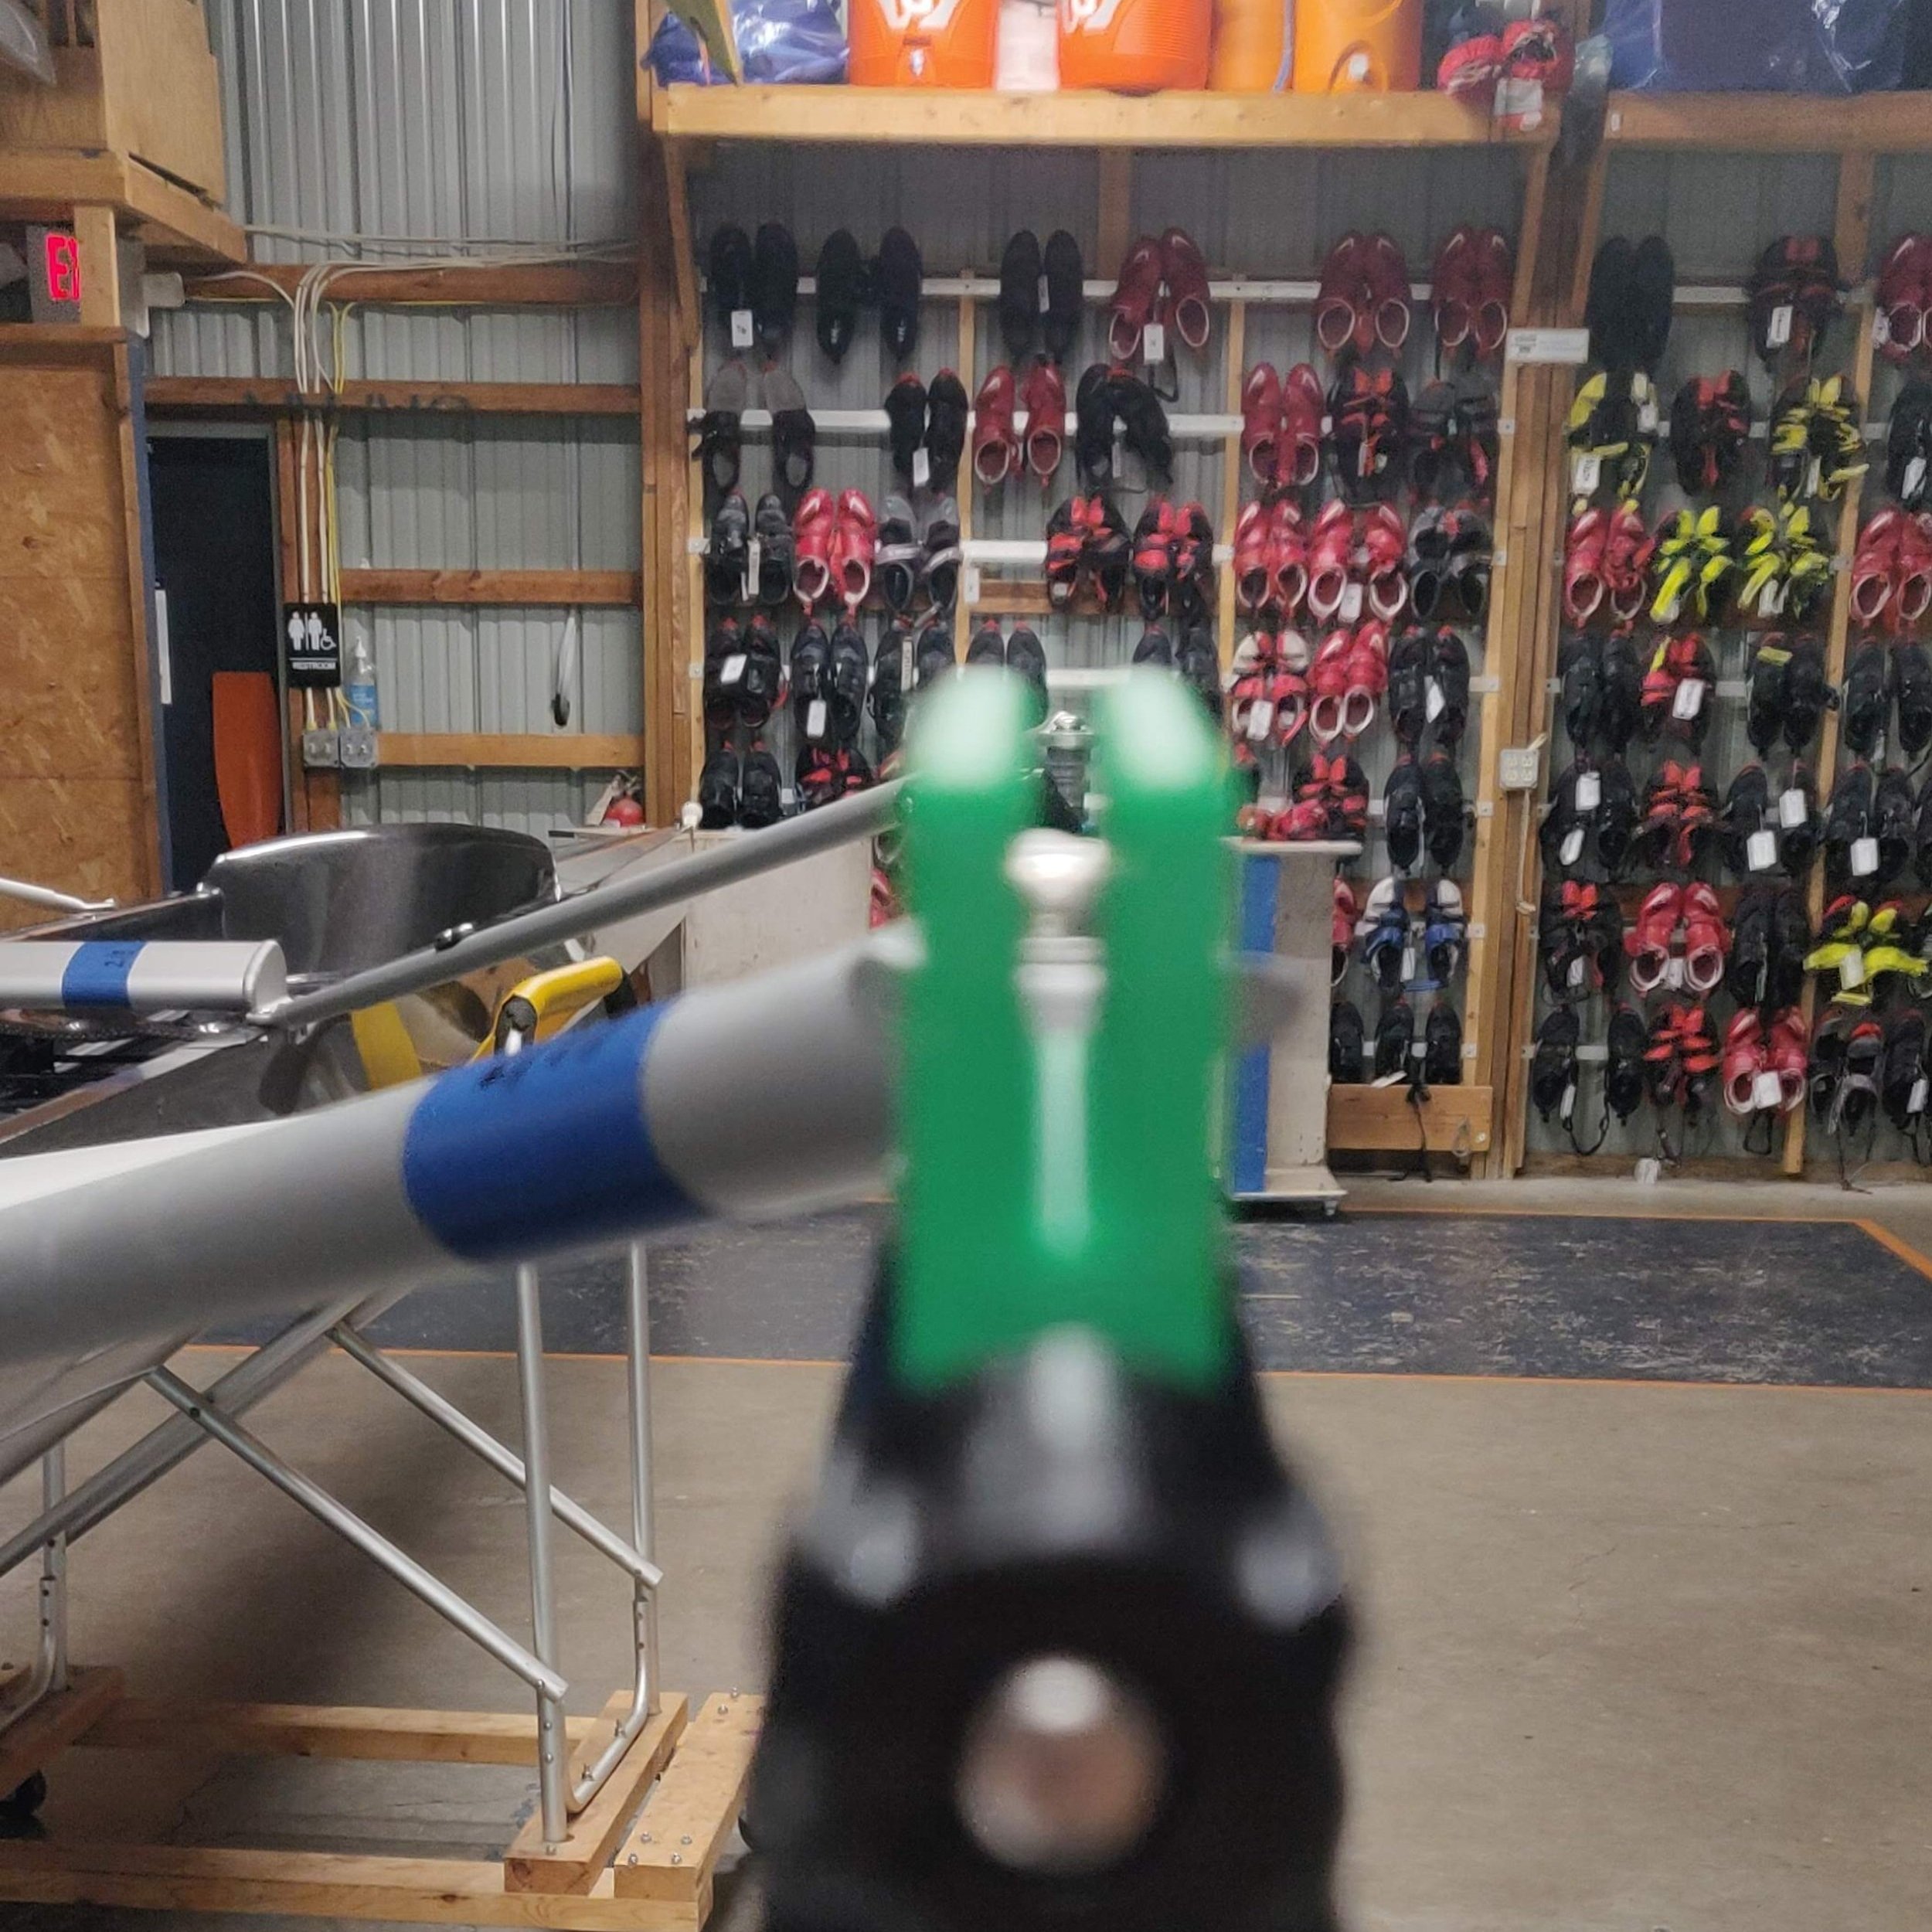 Image 10 of 14

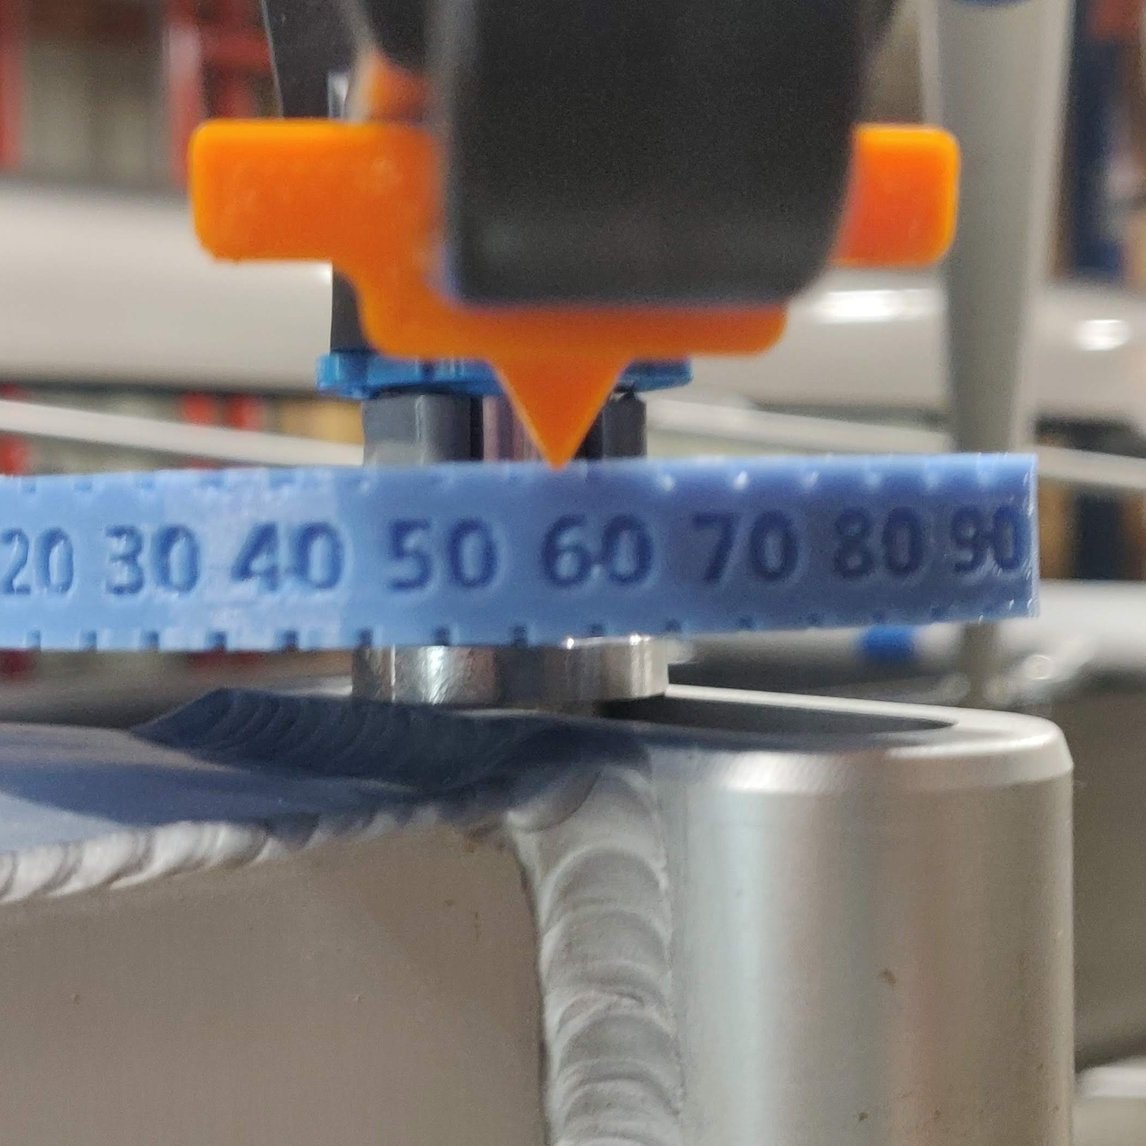 Image 11 of 14

 Image 12 of 14

 Image 13 of 14

 Image 14 of 14


Oarlock Angle Gauge
Easy tool to set oarlock angle.
Protractors are sized for 13mm, 1/2 inch, and 9/16th inch and are colored to match Concept2 pitch bushing colors of the corresponding size.
Kit includes a carrying case with (marked with common catch angle ranges), scull (red) and sweep (orange) oarlock pointers, and alignment sight (green) plus your choice of protractor size.
Protractors are also available for purchase on their own.
How to use the kit (basics):
Remove a snap spacer from below your oarlock and replace with the protractor.
Attach the sight (green) to the latching bar of the oarlock.
Attach the pointer (red for sculling, orange for sweep) to the bottom of your oarlock and slide it so that it is near the protractor
Looking down the sight, pivot the oarlock so that the next pin (either to stern or bow of) is aligned between the towers of the sight
Keeping the oarlock in that orientation, adjust the protractor so that “0” mark is in line with the pointer. Now the protractor is “zeroed”
Load an oar into the oarlock and, keeping the sleeve of the oar flush with the back of the oarlock, rotate the oar and oarlock to the desired angle
Keeping the sleeve of the oar flush with the back of the oarlock, mark on your gunwale the location of the handle
For additional information on how to use, please refer to the video at the bottom of this page.